So you’ve created your new Kialo Edu discussion. Fantastic! But now the question is: What’s the best way of getting your students in there? And what participation permissions should they have?
Kialo Edu provides several ways to invite students to a discussion. Follow this handy guide to help you get students debating on in no time!
Inviting students to a discussion
What it’s best for: Easiest and quickest way to get students participating.
If you want your students to get started as quickly as possible, you can enable the Instant Access option. With this box checked, students don’t even need accounts — they’ll just set a temporary username when they first access the debate. Simply enable it and share it with your students to get them in there and talking! You’ll even get a QR code you can put up on the board for students to scan to enter the discussion.

If your students already have Kialo Edu accounts, you can enable Link Sharing. Just like Instant Access, your students will be able to get started right away. However, using this requires a logged-in account to participate, making it easier to keep track of your students. If your students don’t have accounts yet, they’ll be prompted to set them up when they follow the link.
Once students are finished with a discussion, you can turn off Link Sharing or Instant Access. This ensures that students can’t make further edits or share the link with anyone outside the class.
Option 2: Invite students through Google Classroom
What it’s best for: Inviting all students in a Google Classroom to the discussion at once.
Kialo Edu discussions are now integrated with Google Classroom! This means that once you connect your Google Classroom account, you can invite the whole class or section to the discussion. Even better, each invited student can log in to the Kialo Edu discussion with their Google account—no need to remember any separate login information.
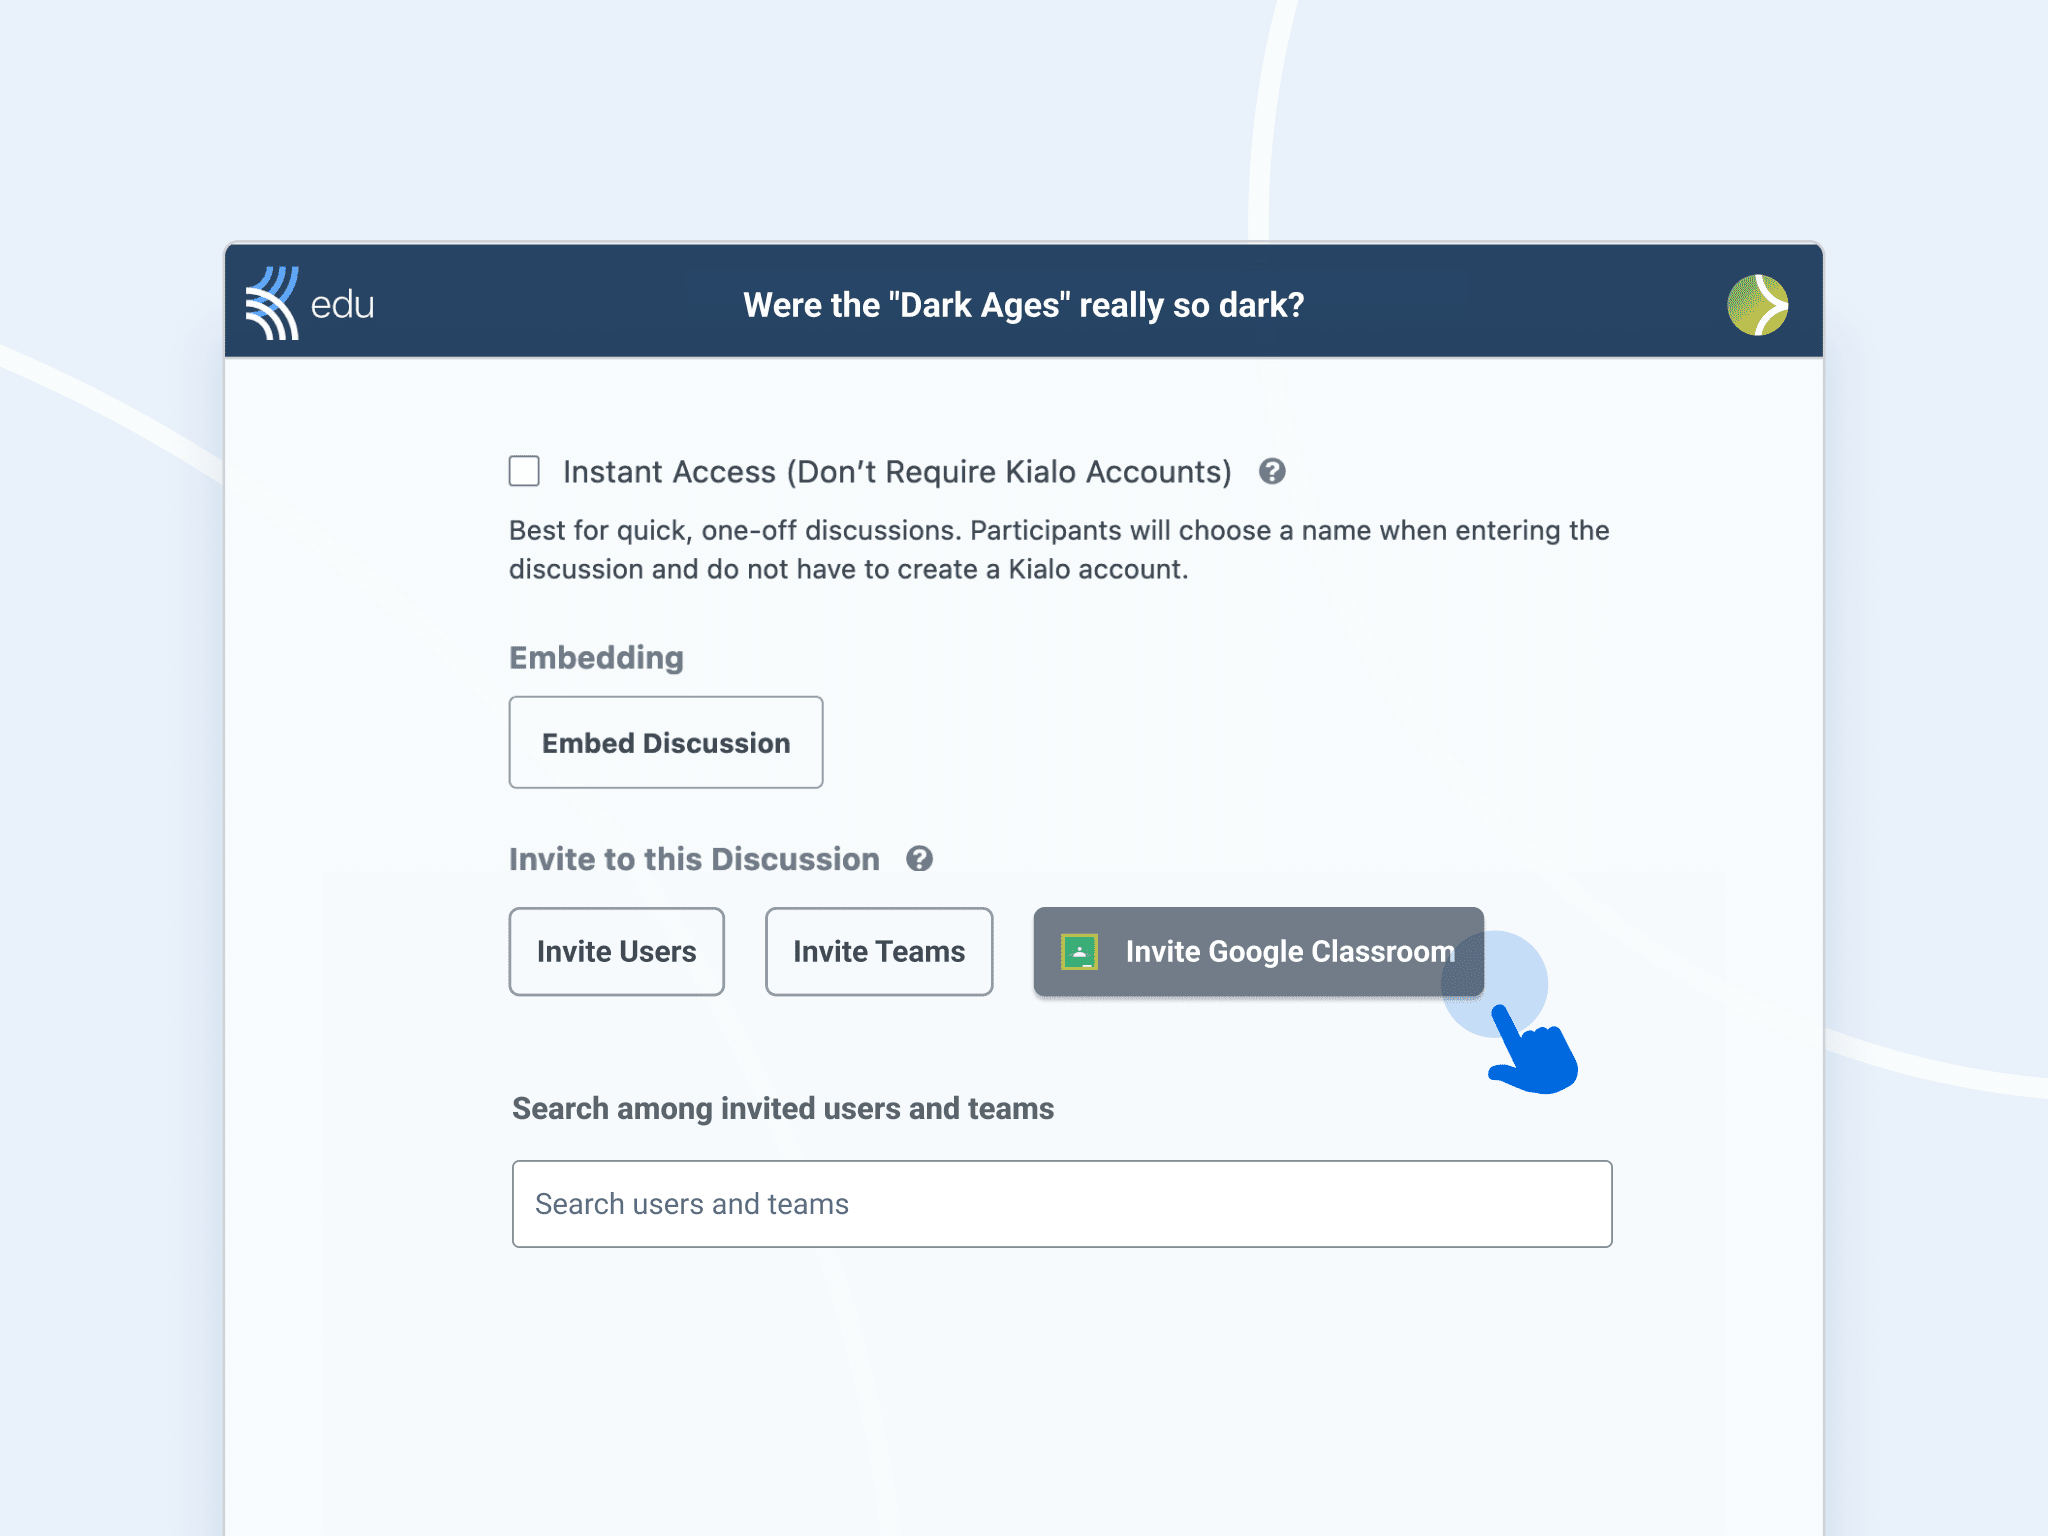
If you’ve got your classes and roster organized on Google Classroom, this is an easy and fast way to invite the entire class, or several classes to a discussion in one go.
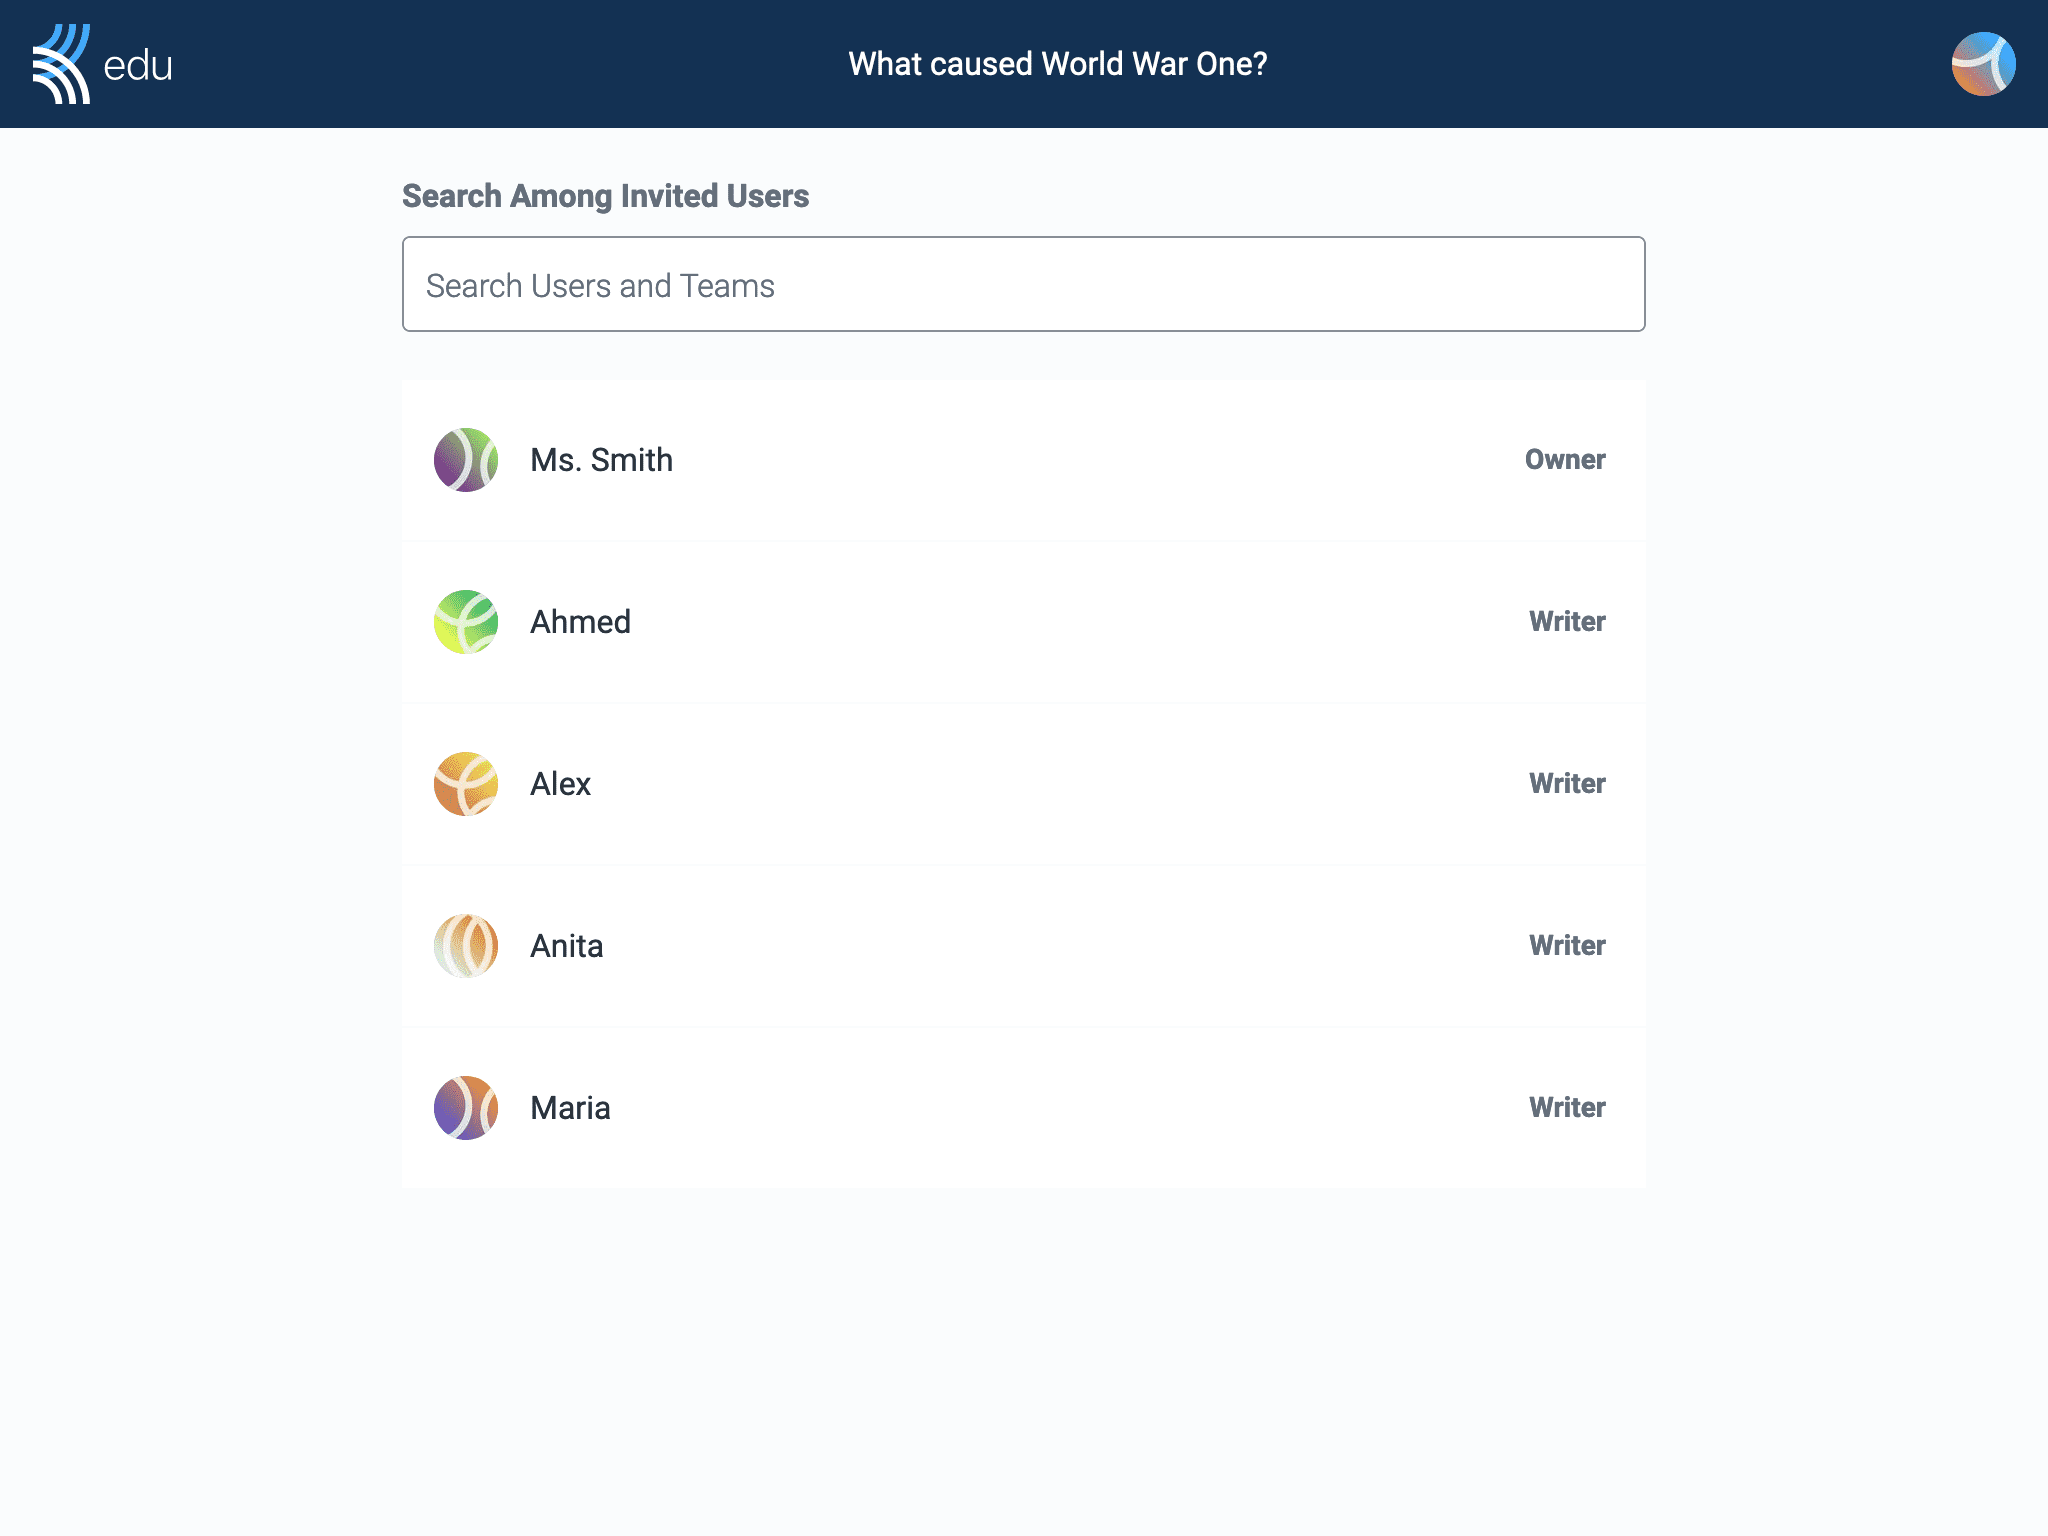
Option 3: Directly invite students through their Kialo Edu username or email
What it’s best for: Securely ensuring only students you’ve invited can access the discussion.
If you want to make sure that only specific students can access a discussion, it’s best to directly invite them. For example, you might have multiple groups of students that are each working on their own version of a discussion, and don’t want them to click another group’s link.
In such cases, it’s best to directly invite students to the discussion, either by username or by email. Because this way of adding students is designed to ensure user control and privacy, you’ll only be able to invite a user to a discussion using their username once they’re in your contact list. A student will appear in your contact list when you:
- Have invited them to a discussion or Team by email at least once before
- Are members of the same Team
- Manage their account
If you want to invite a group of students to multiple discussions, you can put them in a Team. With Teams, you can invite all your students to a discussion in one go, instead of inputting their usernames or emails one by one! This makes it easy to have multiple discussions with the same group or class.
Giving students the correct permission in a discussion
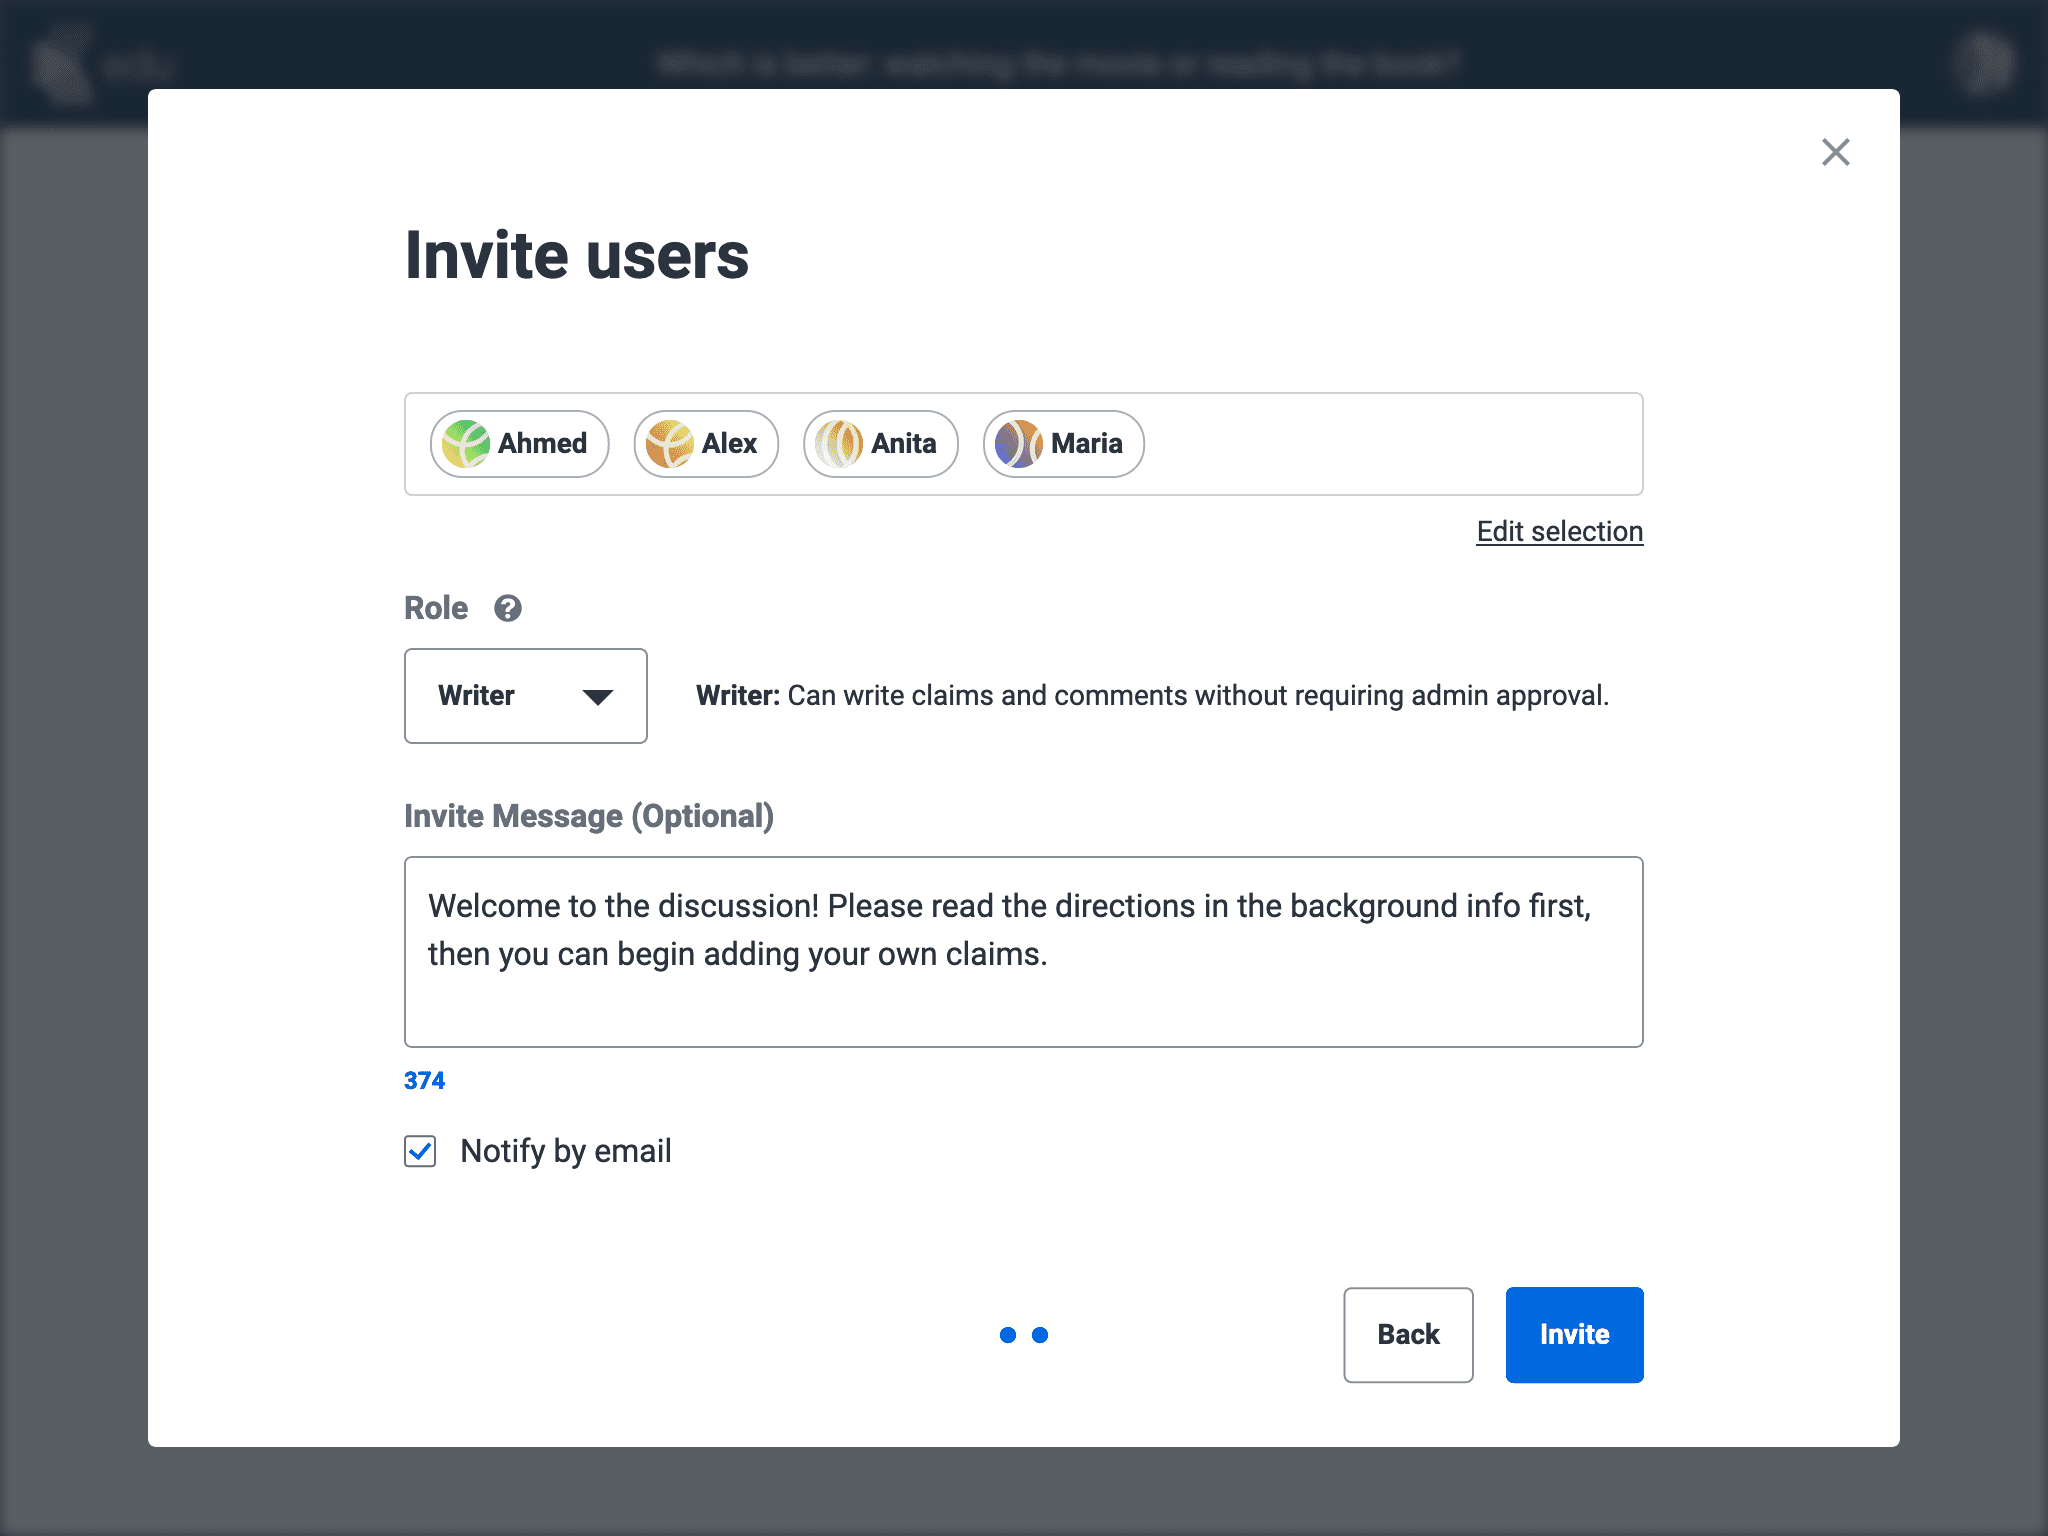
When you invite students to a discussion, you will be prompted to give them the appropriate role in the discussion. Owner and Admin roles should generally be reserved for yourself and any teaching assistants, as the people managing the discussion.
Thus, you should give students one of these four participant roles: Editor, Writer, Suggester, or Viewer. Each of these roles will shape the way students engage with the discussion in different ways.
Option 1: Writer role (most common)
What it’s best for: Students editing and adding their own claims
It is usually best to give students the Writer role in a discussion. With this role, they can add and edit their own claims. They can also leave comments on all claims. However, they will not be able to edit or delete other students’ claims. This allows you to easily monitor your students’ contributions, without them worrying if their work might be edited by their classmates.
Option 2: Editor role
What it’s best for: Students editing each other’s claims
Giving students Editor permissions means that they can create, edit, move, and delete all claims in a discussion. If you want students to edit and improve each other’s claims in real-time, this is the way to go! However, note that this option is best reserved for students who have more experience with the platform, so they know not to mess with their classmates’ claims.
Option 3: Suggester role
What it’s best for: Reviewing and approving students’ work before it appears in the discussion
If you would like to review your students’ work before it appears in the discussion, give them the Suggester role. With this role, students will only be able to suggest claims or comments on claims. Then, it is up to you to approve their work, or to give them any feedback before their work appears in the discussion. This can be useful if you want students to submit ideas for further discussion—it lets you pick which ideas to highlight to the class.
Option 4: Viewer role
What it’s best for: Students exploring a pre-made discussion without adding any content
If you are using a discussion to share knowledge with students, then you should give them the Viewer role. With the Viewer role, students can look at all claims in the discussion, but will be unable to add anything new. Think of it as giving students access to an encyclopedia of arguments!
That’s it! Once you’ve given your students the appropriate permissions, you can add an optional invite message to invite them to the discussion.
You’ve now got the basics of inviting your students and giving them permission to a Kialo discussion. Just like a Kialo Edu discussion, each method has its “pros” and “cons,” so we hope that this guide will help you select the best one for your needs! Whatever you’d like to do with your discussions on Kialo Edu, we try to make sure there’s a way to make it happen.
If you’d like a more step-by-step guide to all the nitty gritty details, check out our Help Center. Thanks for stopping by, and let us know if you’ve got any questions at feedback@kialo-edu.com, or on our social media channels!
